使用WinSCP上传内容/文件的操作步骤:
1、打开WinSCP。
2、提供主机名,用户名和密码信息,将端口号设置为21,然后单击“ 保存”按钮。

只能通过端口21上的FTPS上传内容。因此,除了文件协议之外,您还需要在第一个下拉菜单中选择FTP,然后在下一个中选择TLS显式加密。
3、确认输入如下所示。

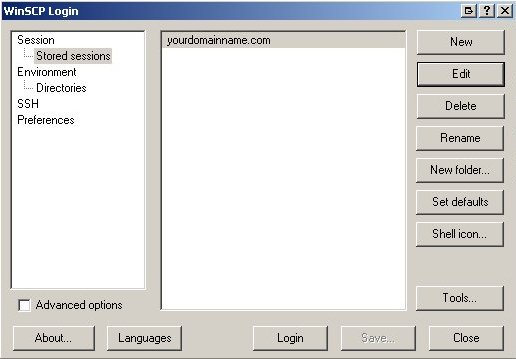
4、在“ 存储的会话”部分中,选择yourdomainname.com并单击“ 登录”按钮。

5、连接后,双击打开Web文件夹。
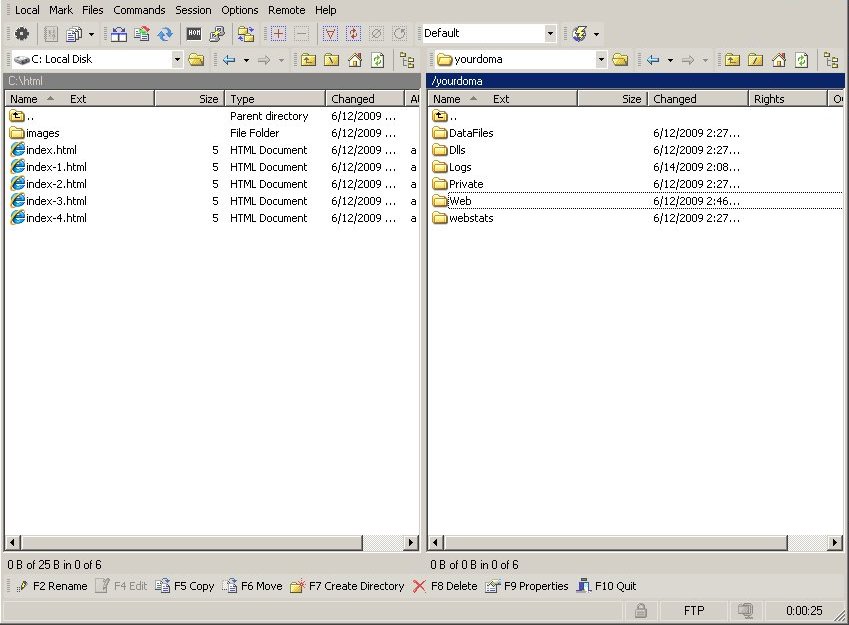
注意:
根据Web Hosting包的目录/文件夹结构,您需要将文件上载到相关文件夹。
6、在左侧窗口中选择所需的文件,然后从“ 文件”菜单中单击“ 复制”。

7、单击“ 复制”按钮确认文件传输。
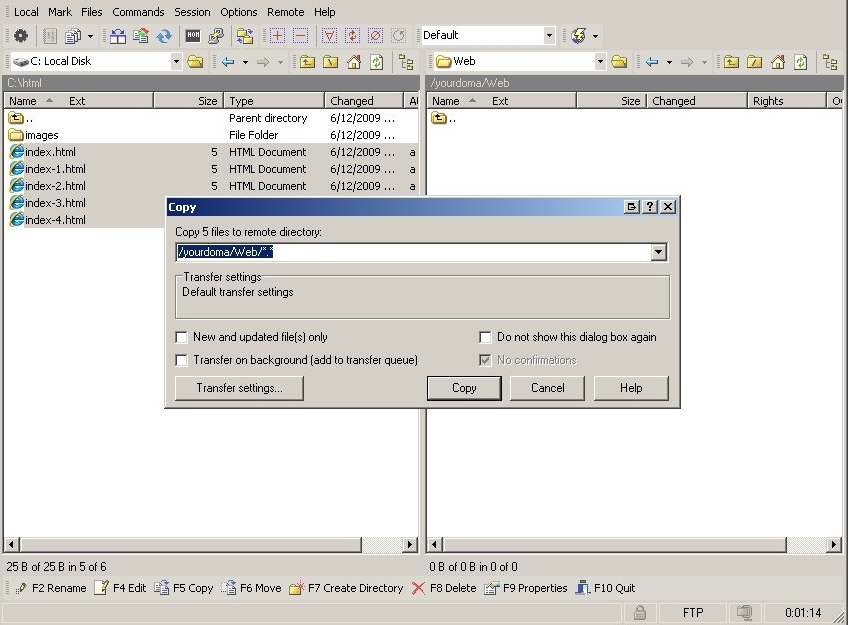
文件将传输到远程服务器。

启用主动/被动模式FTP
在FTP期间可以使用不同的数据连接模式。
可以在WinSCP客户端中修改数据连接模式,如下所示:
1、在“ 存储的会话”下,选择yourdomainname.com,然后单击“ 编辑”按钮。
2、选中“ 高级选项”复选框。

3、通过默认情况下,数据连接模式设定为Active模式。单击“ 连接”,然后选中“ 被动模式”复选框。

4、单击“ 保存”按钮。此更改将保存并激活此站点的未来FTP会话。
相关内容推荐:>>>SmartFTP上传内容/文件操作及相关设置